I want to share with you a method that will allow you to overwinter roses that are not hardy in your climate. This method will allow you to successfully overwinter almost all climbing roses and large shrub roses in USDA Hardiness Zones 3, 4, and 5. I have successfully used this method for many years to overwinter my roses in Hardiness Zone 4a, and I am happy with the results.
1. How To Overwinter Roses Overview
If you grow roses in USDA Hardiness Zones 3, 4, and 5a, you know that most roses will die almost to the ground every winter; and if there isn’t enough snow on the ground, you can even lose the rose.
Growing more cold-hardy roses doesn’t always help. The truth is that most roses rated as hardy in our zones (3-5) will still suffer winter damage. For example, in Zone 4a, I grow John Cabot and White Rugosa, which are supposedly hardy to Zone 3. I don’t protect them for the winter, and they often get winter damage. I also used to grow the hardy climber Quadra, which is hardy to Zone 3. It used to die almost to the ground each winter, and eventually I lost it.
But what is interesting is that roses rated to Zone 3 and roses rated to Zone 5 often overwinter with the same results in my Zone 4a.
In reality, rose hardiness is a highly complex subject. Hardiness zones are defined by minimum temperatures, but temperature is not the only factor that matters for successfully overwintering roses. Roses don’t like to be cold and wet; they don’t like temperature swings or strong wind. They don’t like winter thaws. Often, they can turn black in spring if the snow melts too fast and they are exposed to full sun too quickly because after spending a few months under the snow, they become tender and cannot handle the full sun.
The “bud union” is where the rose was grafted or where the branches meet the roots. The ground usually stays much warmer than the air, especially when it is covered with snow. This means that even if the top of the rose gets frozen, it still has some buds left under the ground and will be able to resprout and regrow.
Of course, when you grow roses in colder climates, you first need to plant them a little deeper. I usually plant roses 3-4 inches deeper than the “bud union.” Some people even recommend planting roses 6 inches deeper to successfully overwinter them.
The “bud union” is where the rose was grafted or where the branches meet the roots. The ground usually stays much warmer than the air, especially when it is covered with snow. This means that even if the top of the rose gets frozen, it still has some buds left under the ground and will be able to resprout and regrow.
However, when the rose dies back to the ground each year, it doesn’t thrive and most certainly won’t grow to its normal size. It also starts to flower much later (usually 3-4 weeks later), and the second flush of blooms often gets hit by the first frost. Essentially, you get only one good burst of blooms instead of two.
To successfully overwinter roses, the main rule is to keep them warm and dry while allowing some air circulation. You also need to overwinter roses with a piece of the ground that will provide warmth. The cover needs to be constructed so that it allows the snow to accumulate not only on top but on all sides.
Never try to cover the rose with mulch (as some suggest) or allow anything that absorbs moisture to touch the stems, as it will only rot them.
Once, I covered the base of the roses with mulch, and when the snow melted, I found that the tops of the roses were green, but where the stems touched the mulch, they all turned black. I had a similar experience with peat moss. I thought that since it is hydrophobic (repels moisture) by nature, it would keep the rose dry and warm. But in reality, it absorbed enough moisture during the winter, and the stems turned black.
Another thing to avoid when overwintering roses is covering them entirely with plastic. They will heat up during the day and freeze at night. The combination of heat, moisture, and temperature swings will result in the stems dying back. In addition, plastic won’t allow the snow to accumulate and keep the roses warm.
2. The Method to Overwinter Roses
Step 1: Preparing Your Roses for The Winter.
First, you need to prepare your roses for the winter by cutting all dead, damaged, and diseased branches. This will prevent the spread of disease when the rose is exposed to less-than-ideal conditions.
Then remove all spent blooms and as much foliage as you can. Foliage, especially spent blooms, will harbor moisture and all kinds of spores and bacteria. I simply stop spraying deer repellents and let deer do this job. They are very hungry at this time of year and strip all the roses nicely. This way, I get at least some compensation for their mischief.
You can prune hybrid tea roses to about 2-3 feet in height if the stems are too thick and you can’t lower them. However, I prefer to bend them when possible and do all the pruning in the spring.
If you need to prune the rose, make sure to do it when the night temperatures are below freezing because pruning can stimulate young growth that is frost-tender, affecting the rose’s hardiness.
Step 2: Protecting Your Roses for The Winter.
If you have rodents in your area, you need to protect the base of the rose.
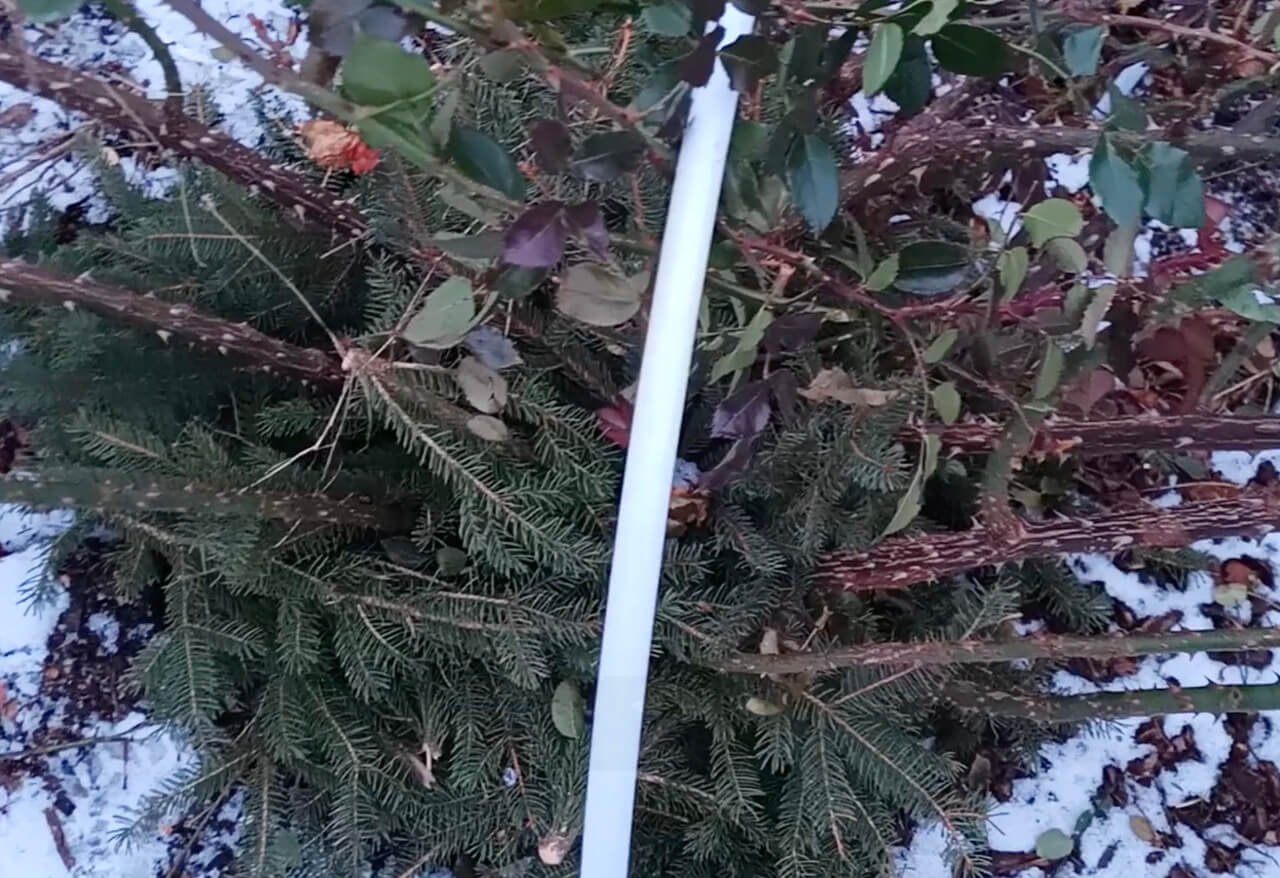
Here, I am using branches of a spruce tree, but you can also use protective paint or metal mesh.
This is the most time-consuming part of the process, but if you skip this step and rodents get under the cover, they can do more damage than the weather.
If you are going to use branches, make sure you pack them very tightly, leaving no gaps.
I would not recommend using pine or fir as protection because their needles are not sharp enough.
I have never used paint because I have many spruce trees that grow like weeds and need to be cut regularly anyway. However, I know that some rosarians do use paint. I would recommend using paint designed for fruit trees, and there is even one that is green in color and should blend nicely with the stems.
If you grow other plants next to the roses that will be under the cover, don’t forget to protect them from rodents too. Try not to plant tulips next to the roses you will cover. If you do, interplant them with daffodils and Siberian squill to deter rodents. They usually leave along lavender and sage. These plants make great companions for the roses and will also benefit from winter protection.
Don’t forget to use protective gloves and clothing when working around the roses.
Step 3: Lowering Roses for Winter.
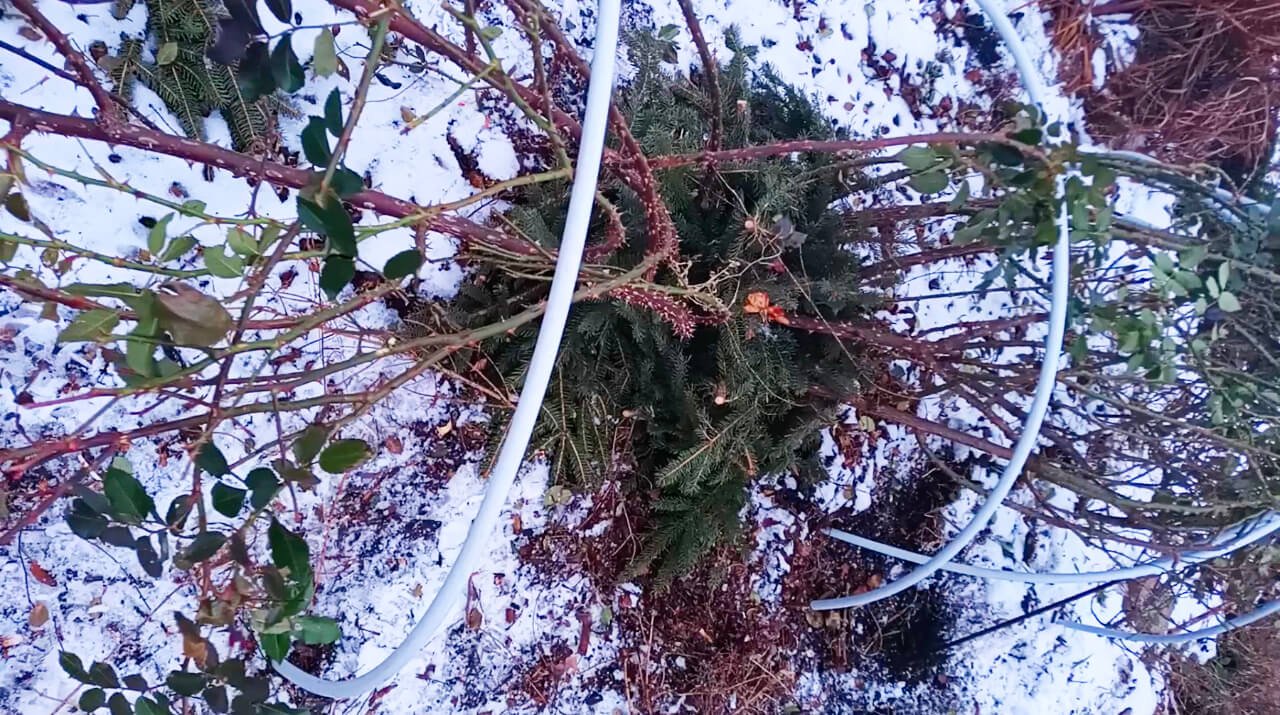
Bend the rose to the ground and secure the branches using hoops. The hoops shouldn’t be more than 3-3.5 feet (1 meter) in height. This is important because the heat comes from the ground, and it will dissipate if the cover is too high.
The hoops should be strong enough to hold the snow. I’ve made the hoops using 8-foot-long, 5/16-inch diameter rebar, which I’ve inserted into a ½-inch PEX pipe to protect the roses from rubbing against rough metal surfaces that can damage them. The pipe also protects the cover from rusty stains.
If you have a huge shrub or a climbing rose, you may need to lower it in a few steps over a few days. Create an anchor (a large rock, rod, or bar inserted into the ground). Bend the rose as low as you can and tie it to the anchor. After a day or two, lower the rose more and tie it again. Continue until you reach the desired height of 3-3.5 feet maximum.
Of course, if you have never protected your roses for winter before, they are unlikely to have grown very big. But after a few years of growth with winter protection, they can become too large, and you might need to use the technique described above.
It is better to bend the rose when the temperature is above freezing, as frozen branches are more susceptible to breakage.
Step 4 – Cover Roses for Winter

Cover the hoops with a protective cover and secure the cover to the ground.
You can use metal pins, rebar, stones, bricks, etc. Just make sure that the cover won’t fly away with strong winds. When it is covered with snow, it will stay in place securely.
Protective Cover for Overwintering Roses
There are a few different types of protective covers on the market. First, there is a floating row cover like Agribon. It comes in various thicknesses, and for winter protection, you will need to use the 2 oz./sq. yd. (60-70 gsm) cover to overwinter roses.
In Zone 5, one layer of winter cover should be sufficient, but in Zones 3 and 4, I recommend using two layers of 2 oz. protective cover. If you can’t find a protective cover of this thickness, use 3-4 layers of 1 oz./sq. yd. (or two layers for Zone 5).
However, some protective covers that look like Agribon start to shred after 1-2 seasons. They become very fragile and tear easily. Make sure you buy the cover from a brand that you can trust.
I found another type of protective cover with a felt-like structure that is much thicker (4-5 oz) and can last for many years. I prefer this type of cover because you need only one layer, and it is more robust and doesn’t get damaged by rose thorns. The only downside of this cover is that it absorbs moisture.

Keep in mind that it is primarily the snow that will keep roses warm during the coldest weather. In Zones 3 and 4, you will need at least 2-3 feet of snow to keep the roses from freezing when temperatures drop to around minus 30 (Fahrenheit or Celsius), and 3-4 feet of snow in Zone 3 is preferable.
If you don’t usually have this amount of snow (in Zones 3 and 4), I would recommend cutting the roses lower, to about 1 foot, covering them with one layer of protective cover, then using 2-foot-tall hoops, covering them with one layer of protective cover, then adding 6 mil plastic and covering with another layer of protective cover. However, make sure to remove the plastic as soon as temperatures start to warm up in spring. If you can’t remove the plastic from the entire length, try lifting it at both ends to allow airflow.
When To Cover Roses
It is crucial not to cover your roses too early because it won’t allow them to go dormant, and they will be more susceptible to frost. Since it gets significantly warmer under the cover when the sun shines, it can stimulate new growth that may compromise the rose’s hardiness.
Ideally, you should wait until night temperatures are constantly between 15 to 20 degrees Fahrenheit (-6 to -10 C) but not lower than 5 F (-15 C) before covering your roses for winter.
You also want to cover your roses before a big snowfall. A few inches of snow are acceptable, but if there is more, it is better to remove it before covering the roses.
I also suggest putting up the hoops and bending the roses before the ground freezes solid, so you can leave the roses uncovered until the temperatures are between 5-20 F (-15 to -6 C).
More Details About Overwintering Roses
It was a long read, but I wanted to provide all the important details to make the overwintering of your roses successful.
It is easier than it looks. The first year is the most time-consuming because you need to find or make hoops, buy a protective cover, learn how to lower your roses, etc. But once you’ve tried it a couple of times, it will become much easier and faster.
If you love roses as I do, you won’t regret spending some time to overwinter them. They will reward you with an abundance of blooms that are otherwise not possible in our climate. They will bloom earlier, longer, and more abundantly.
Before I learned this method, I looked at pictures of southern rose gardens with envious awe, thinking that this kind of growth was impossible in our climate. Now I know that with some work, we can have the same gorgeous roses with an awe-inspiring abundance of blooms.
However, I must confess that I don’t always have enough time to cover all my roses. I grow many other plants in my garden that need attention, and I have almost 200 rose plants, including large climbers.
Sometimes, I don’t know how many roses I will be able to protect before the winter. That’s why I begin with climbers and more tender roses, as climbers suffer the most from constant dying back to the ground each year.
The last thing I want to mention is that I try to plant my roses in rows. That allows me to overwinter many roses under one cover, and I also reuse the covers and hoops to protect my vegetables in spring. It gives me a chance to plant tender vegetables like tomatoes, peppers, and cucumbers earlier and enjoy more abundant harvests.